
Every now and then as a designer, you will be given a flat image and tasked to remove a specific color so that the background becomes transparent. Often this is saved out as a PNG file so that it can be used elsewhere. I will show you a few techniques to use to get to the solution you need.
Removing a specific color from an image in Photoshop can be done in a number of ways. Using the tool Color Range we can sample similar colors and add them as one selection for us to mask out or delete. But depending on the complexities of the image can make this process harder.
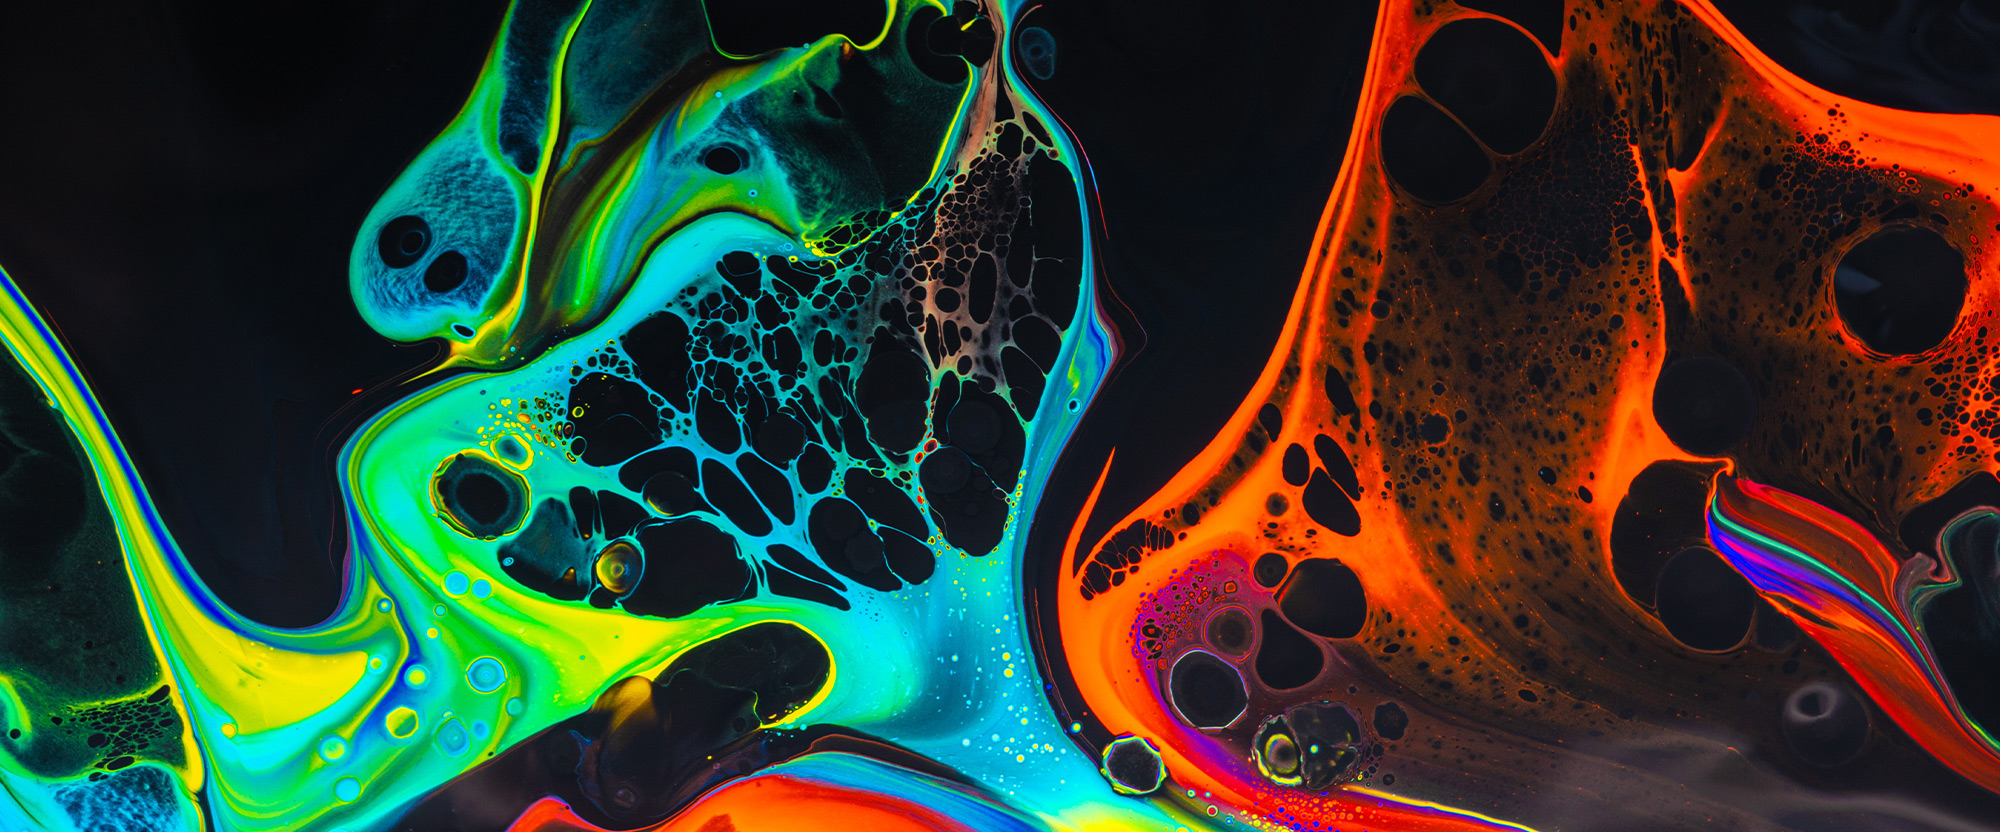
In the image above we have a neon ink image with a black background. What if a client wants to have text that goes in front and behind that neon ink? We will have to remove the black background so that the ink sits on its own layer and we can place text below it. In the image below we see that the ink has been separated into its own layer in Photoshop so that we can place the text below it and in front of it at the same time.

Step One: Use Color Range
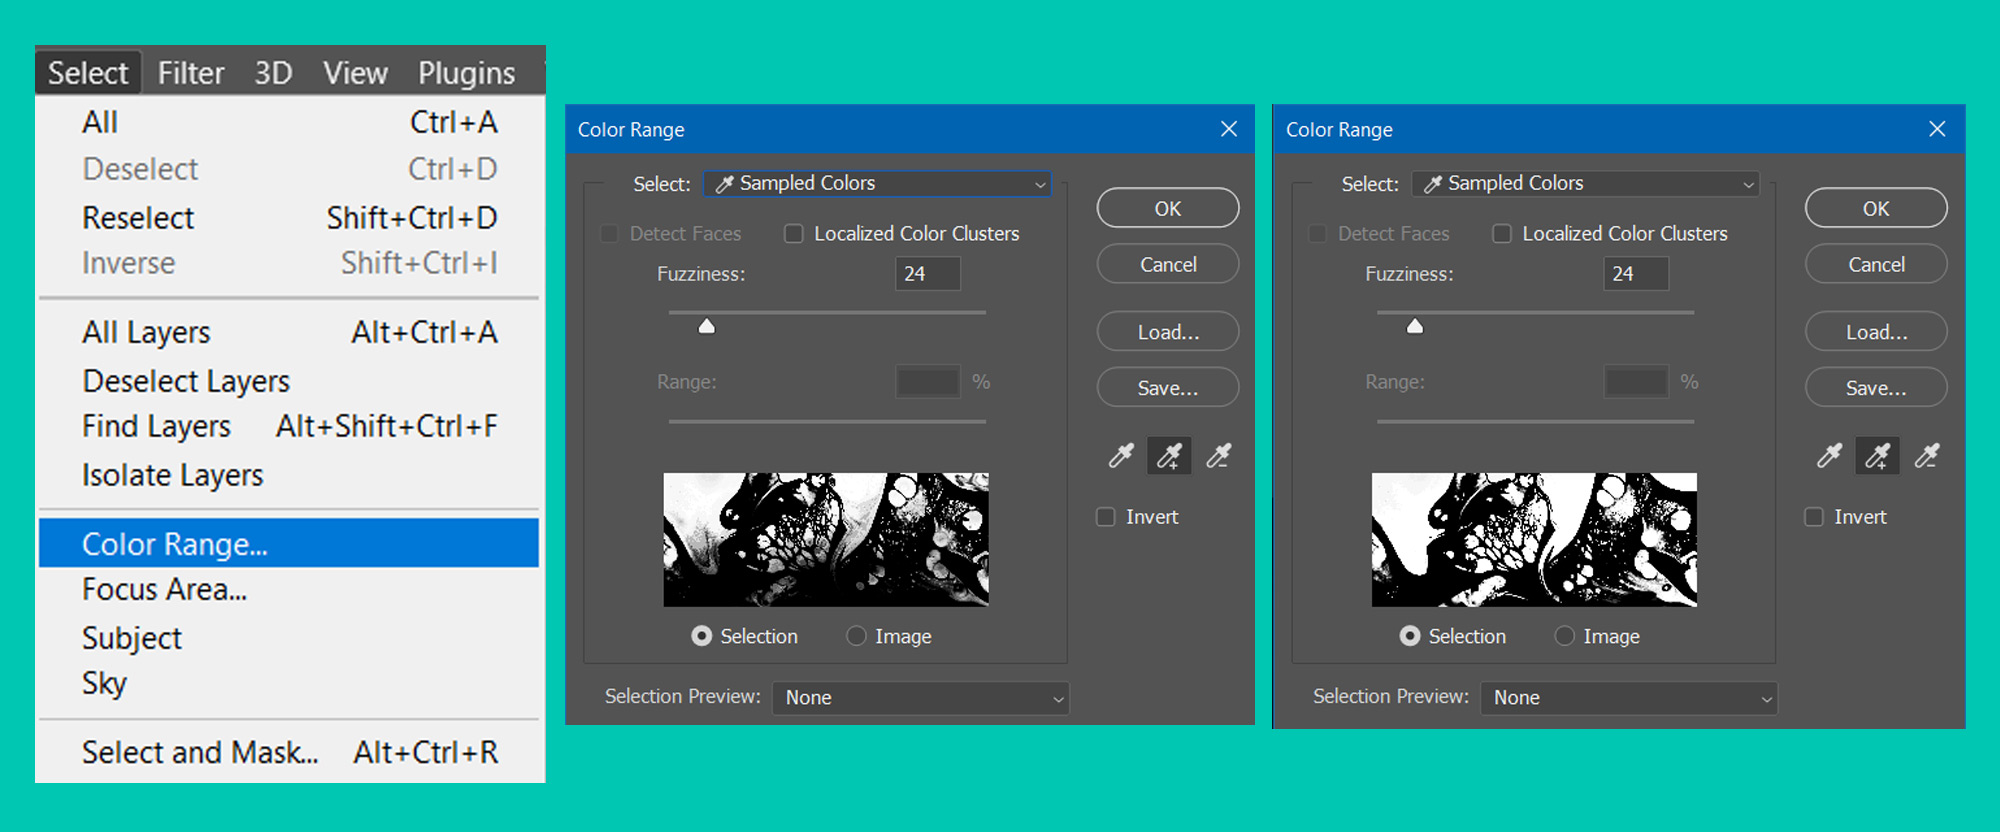
We will be using this image from Pexels, but you can use any image that has a background color you want to remove. Bring the image into Photoshop, select the layer and then go Select > Color Range. The Color Range dialog box will pop up. We want to select the black background. Using the eyedropper tools on the right-hand side of the Color Range window we can select the color we want to select. With the eyedropper tool selected, click on the black color in the image. Then click on the eyedropper with the + next to it. We want to select variations of the black, so sample the shadow areas to try and get as many shades of the black as we can.
You can see the difference between the first click and adding clicks with the eyedropper that has a plus next to it in the image below. The middle image has more greys in the white, whereas the next image is more black and white – this is what we want.
Click OK.
Step Two: Refine Selection
So we now have a selection that isolates the black but we need to do a few things to help make this selection cleaner.
The first thing we want to do is right-click on our image and Select Inverse.
This is so that we have the color part of our image selected. We want to eventually use a mask on our image so that we are left with just the color part, so inverting now means that we can refine the selection based on what we want to have at the end.
Next go Select > Modify > Contract and set the value to 1
This brings the selection in by one pixel everywhere. This is a great way to clean up a selection as it helps to remove any of the unwanted background colors from our foreground image.

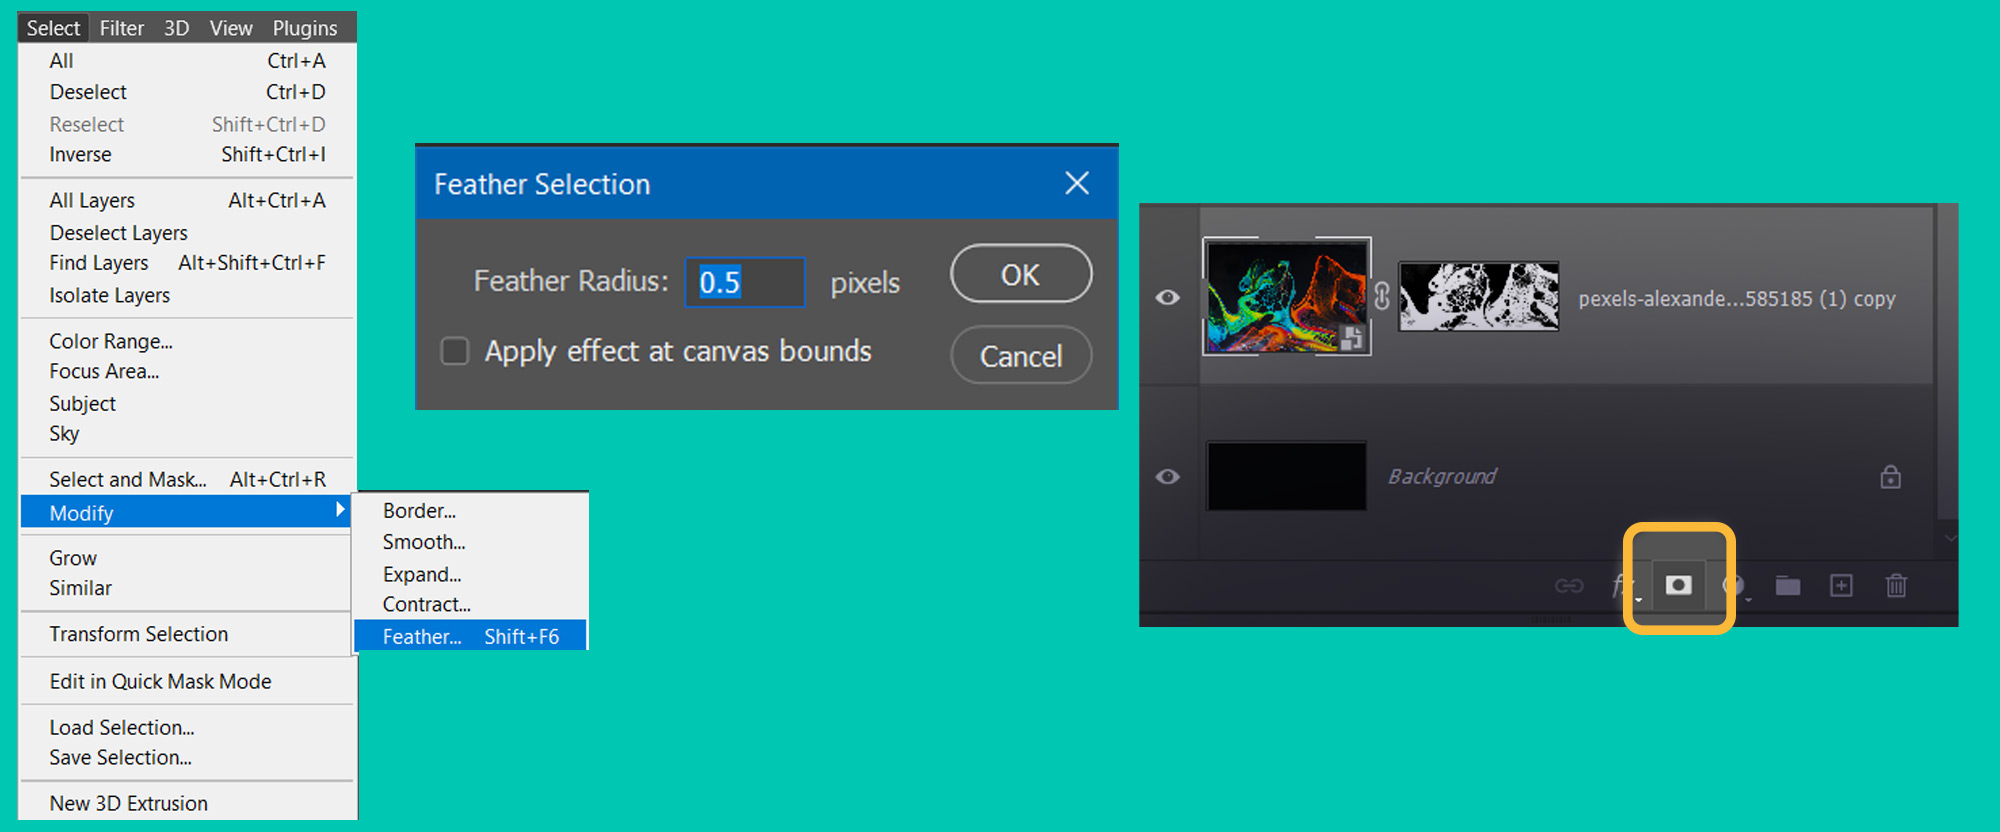
Now go to Select > Modify > Feather and set the value to 0.5
Then click the Mask Icon at the bottom of the Layers Panel
The feather adjustment makes it so that our selection has a slightly softer edge, this will help us layer different assets behind or in front of our selection.
It is at this point that we could change the background color in Photoshop to a new one. I will be using black as my background color, but feel free to use any that you wish.
Step Three: Add Text
In my image, I will be adding text that goes in front and behind the image, but depending on the design you are trying to do will decide if this step is needed for you. At this point, we are essentially done with removing the black background. Feel free to skip to the next step of saving out a transparent background image if that is what you need.
The font I have used is Brandon Grotesque.
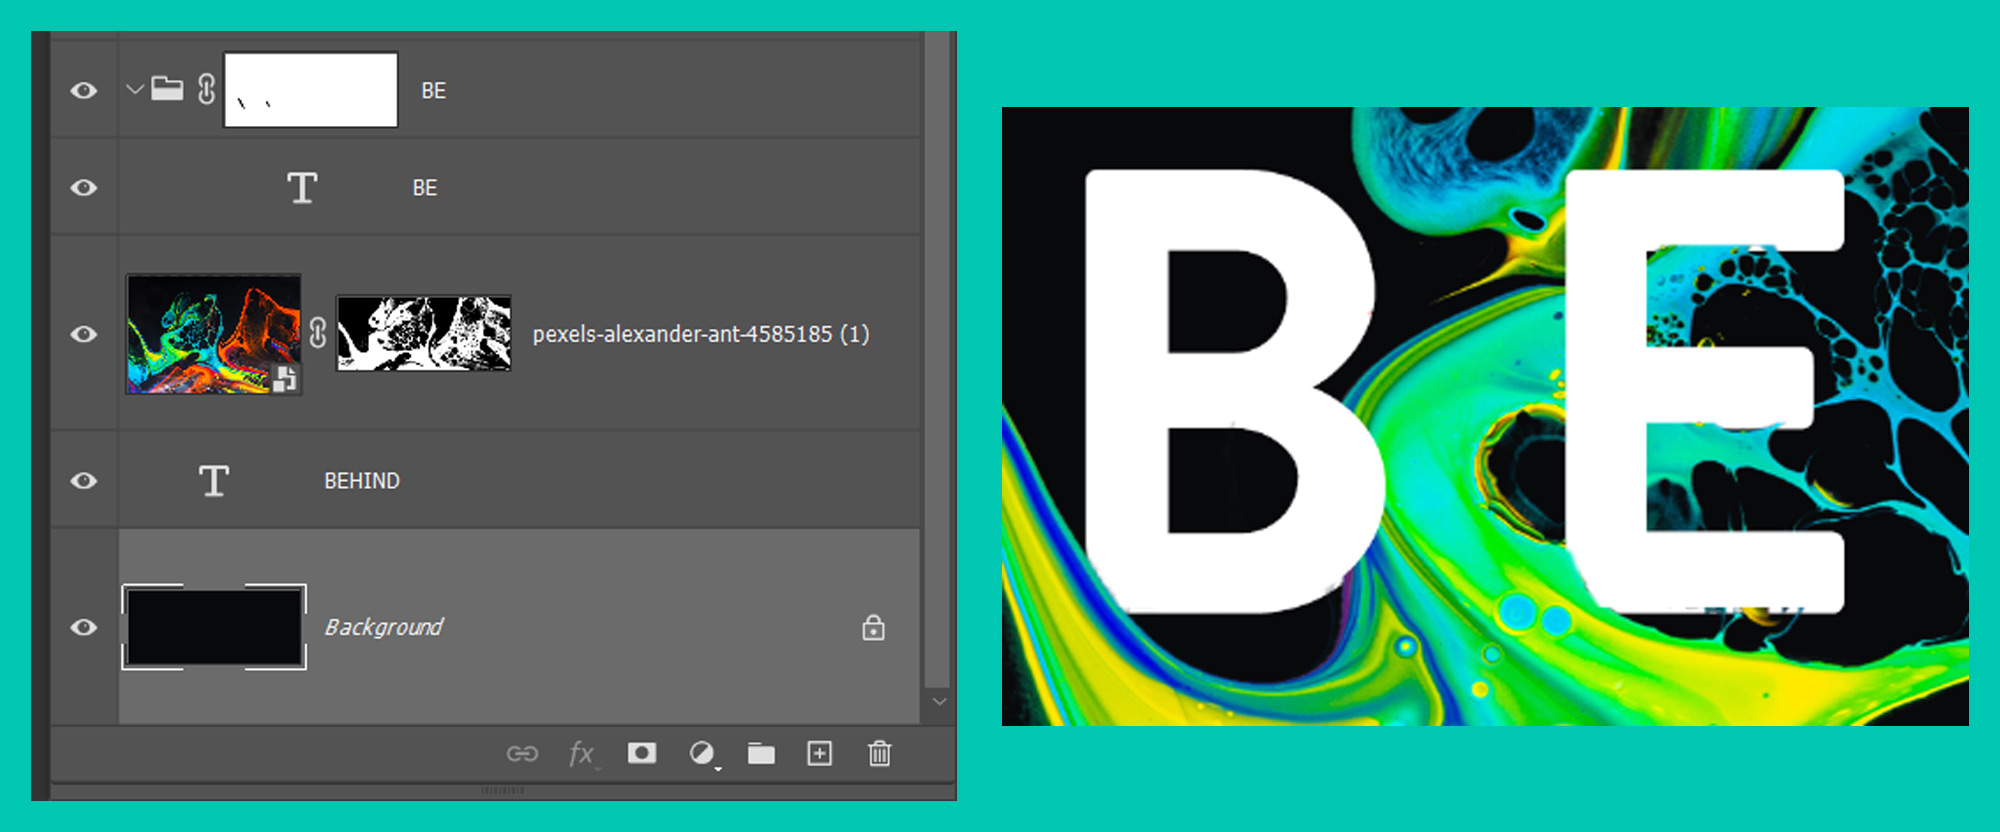
I have one word that reads Behind which is below the Pexels ink layer. then two letters BE that I have positioned above the Pexels layer. This is so that I could have some of the letters over the top of the ink. I placed the BE letters into their own group by selecting the layer and then pressing CTRL-G. I then added a mask by clicking the mask icon at the bottom of the Layers Panel and painted black into the mask on the lower left corners of the B and E letters.
Bonus Step: Transparent Background
I suspect most of you reading this will want to remove the color completely and save a Transparent PNG. This will mean that your image will have the unwanted background color removed and can be placed onto any image seamlessly.
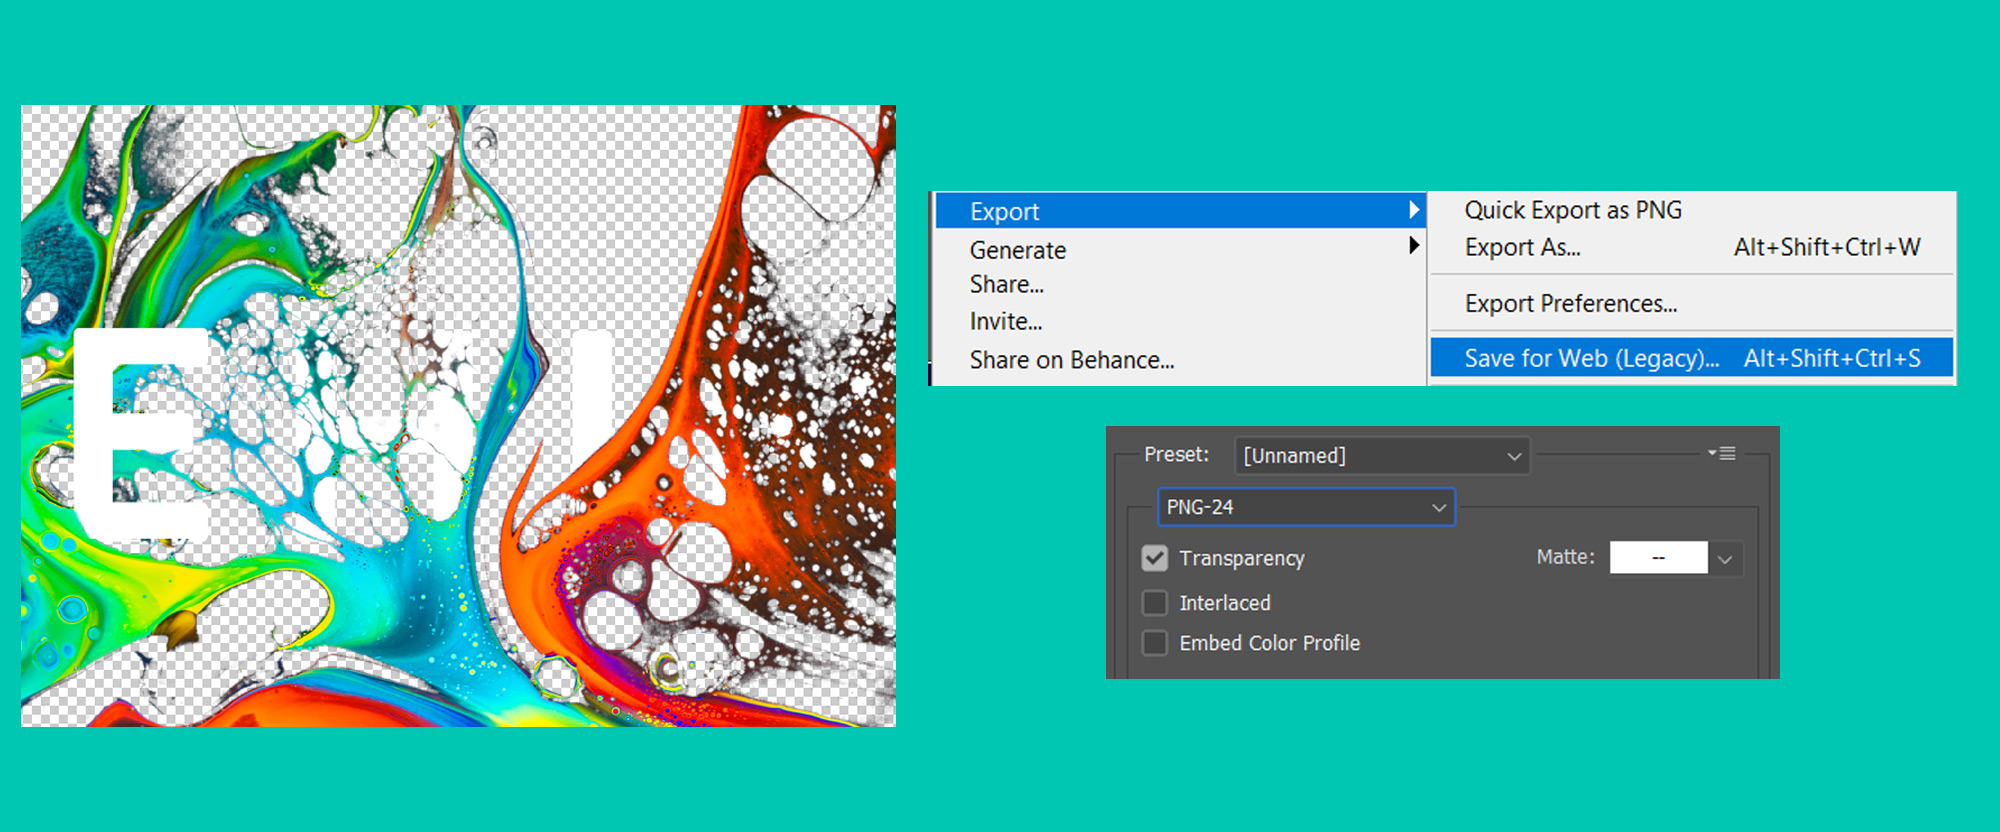
Turn off the Black background layer in the Layers Panel this is so that you are left with the isolated color part of your image. You should see the checkerboard pattern in the Photoshop canvas.
Go File > Export > Save For Web
Select PNG-24 and make sure Transparency is ticked.
Hit OK. You now have a transparent PNG.
If you are concerned with File Size of your PNG then try saving out as PNG-8 as this will give you a smaller file size but you will lose quality.
Next Tutorial
If you are looking to go further with your selection and removal skillset in Photoshop then why not try out this tutorial on removing a person from a Photograph. Editing photos in this way is a very common exercise for Professional Designers so it is worth learning more about this subject.
One Response
Comments are closed.